快速部署novelai画图
前段时间novelai犯了众怒被人脱了库,今天群友搭建了本地novelai端,并且免费开放了api接口,我们就沾沾光,借用群友提供的免费api快速部署novelai bot.(才不是因为买不起gpu服务器
配置python3.8
首先准备一台Centos7的主机
将系统自带的python2.7更换成python3.8
Centos7安装python3.8详细教程
安装编译相关工具
1
2
3
| yum -y groupinstall "Development tools"
yum -y install zlib-devel bzip2-devel openssl-devel ncurses-devel sqlite-devel readline-devel tk-devel gdbm-devel db4-devel libpcap-devel xz-devel
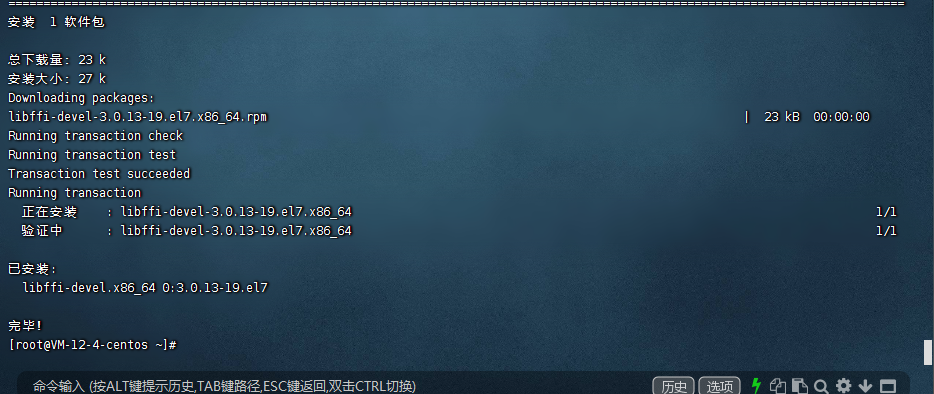
yum install libffi-devel -y
|
下载python安装包
1
2
| wget https://www.python.org/ftp/python/3.8.3/Python-3.8.3.tgz
tar -zxvf Python-3.8.3.tgz
|

编译安装python
1
2
3
4
| mkdir /usr/local/python3
cd Python-3.8.3
./configure --prefix=/usr/local/python3
make && make install
|
安装过,出现下面两行就成功了
1
2
| Installing collected packages: setuptools, pip
Successfully installed pip-19.2.3 setuptools-41.2.0
|

创建软连接
1
2
|
ll /usr/bin/ |grep python
|
1
2
3
| lrwxrwxrwx 1 root root 7 Nov 26 2018 python -> python2
lrwxrwxrwx 1 root root 9 Nov 26 2018 python2 -> python2.7
-rwxr-xr-x 1 root root 7216 Jul 13 2018 python2.7
|
默认系统安装的是python2.7
删除python软连接
配置软连接为python3
1
2
|
ln -s /usr/local/python3/bin/python3 /usr/bin/python
|
这个时候看下python默认版本

删除默认的pip软连接,并添加pip3新的软连接
1
2
3
| rm -rf /usr/bin/pip
ln -s /usr/local/python3/bin/pip3 /usr/bin/pip
|

更改yum配置
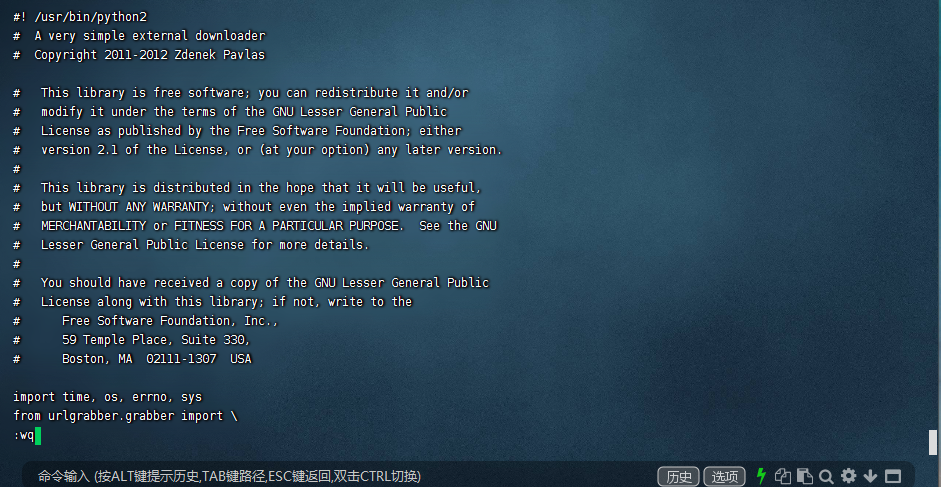
因为yum要用到python2.7才能执行,否则会导致yum不能正常使用(不管安装python3的哪个版本,都必须要更改以下配置)
1
2
3
4
5
6
| vi /usr/bin/yum
把
vi /usr/libexec/urlgrabber-ext-down
把
vi /usr/bin/yum-config-manager
|
部署HoshinoBot
1.git HoshinoBot
1
2
3
4
5
| git clone https://github.com/Ice-Cirno/HoshinoBot.git
cd HoshinoBot
pip install -r requirements.txt
pip install -i https://pypi.tuna.tsinghua.edu.cn/simple -r requirements.txt
|
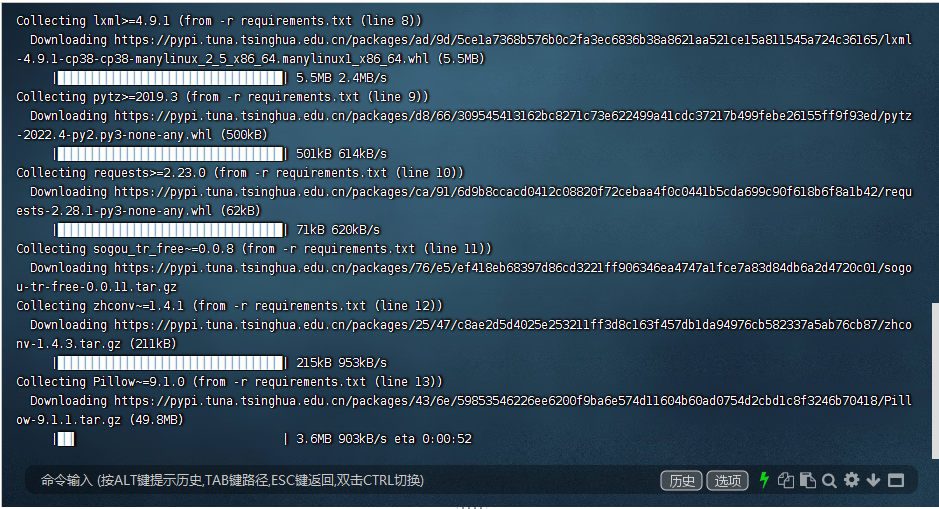
如果提示这个:
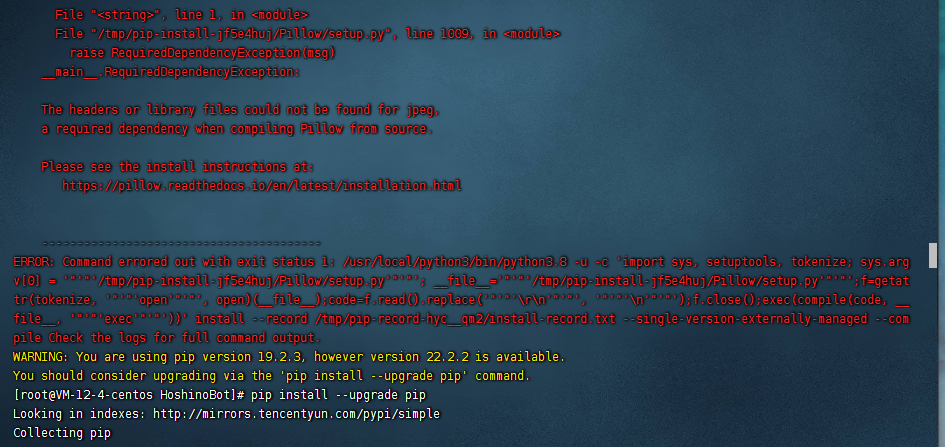
解决方法:
1
2
3
4
|
pip install --upgrade pip
pip install -i https://pypi.tuna.tsinghua.edu.cn/simple -r requirements.txt
|
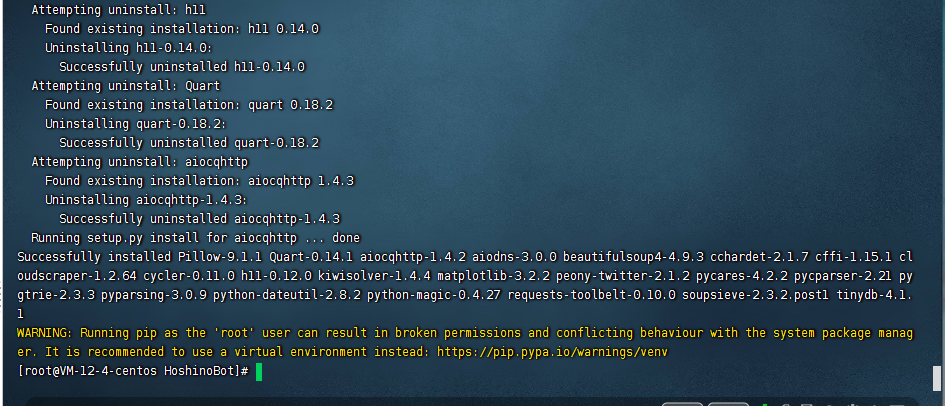
就解决啦!
2.配置HoshinoBot
进入hoshino文件夹,将config_example文件夹复制一份,重命名为config,然后右键使用Notepad++打开其中的__bot__.py

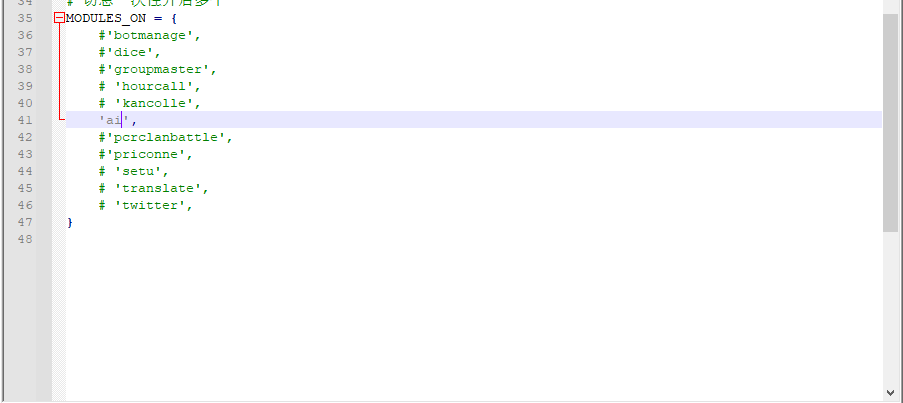
进入/root/HoshinoBot/hoshino/modules目录,新建文件夹ai,并把novelai.py插件放到文件夹里。该插件我会放到文章末尾,需要的自取。

部署go-cqhttp
Releases · Mrs4s/go-cqhttp (github.com)
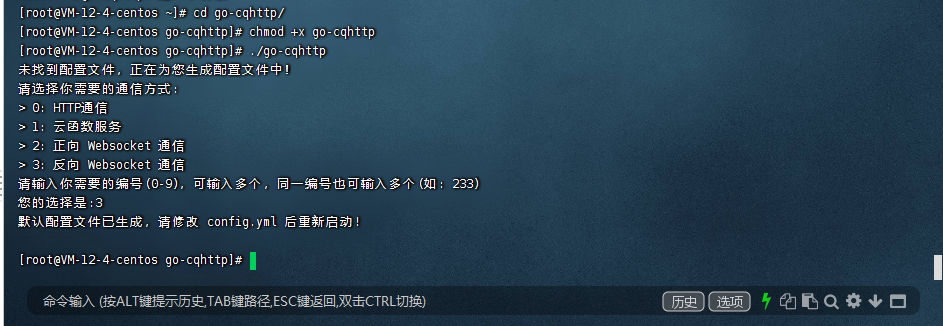
下载适合自己系统版本的go-cqhttp
1
2
3
| cd /root/go-cqhttp
chmod +x go-cqhttp
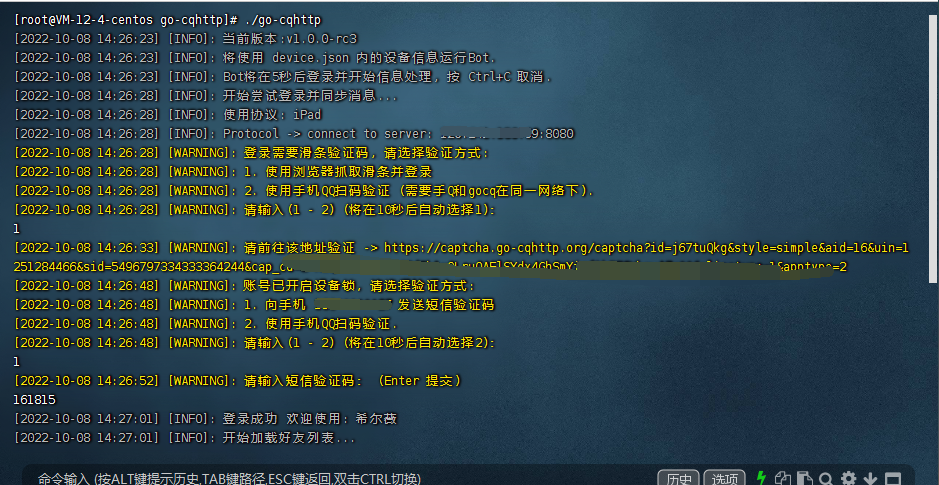
./go-cqhttp
|
安装screen
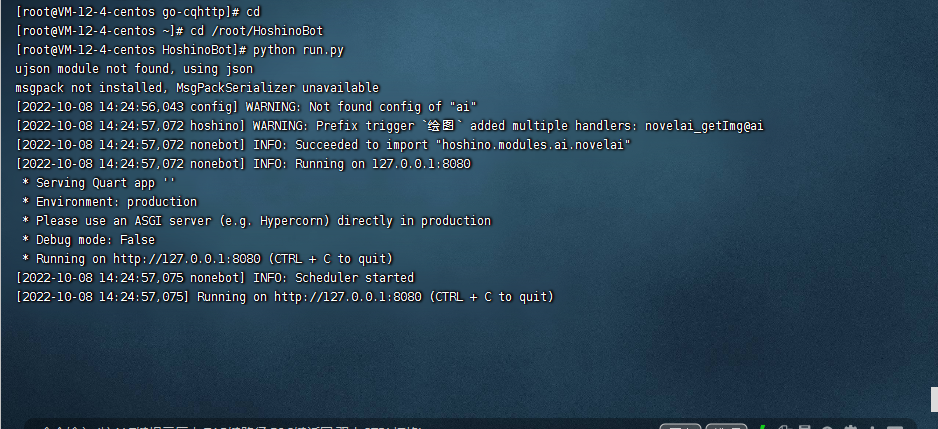
开始整体运行
1
2
3
4
5
|
screen -S bot
cd /root/HoshinoBot
python run.py
|
1
2
3
4
5
|
screen -S qq
cd /root/go-cqhttp
./go-cqhttp
|
发送绘图指令 绘图+英文关键字
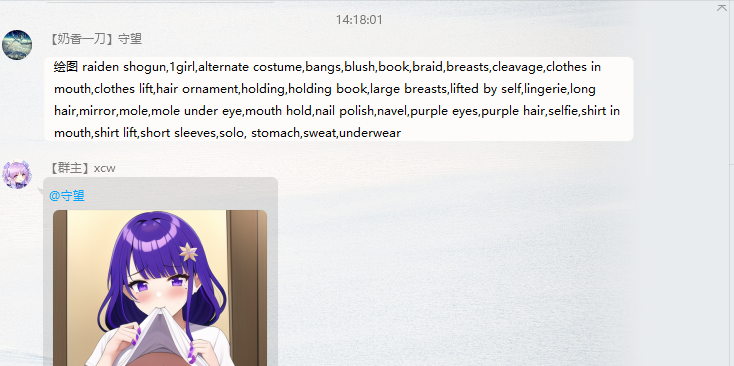
成啦~~~
novelai.py
1
2
3
4
5
6
7
8
9
10
11
12
13
14
15
16
17
18
19
20
21
22
23
24
25
26
27
28
29
30
31
32
33
34
35
36
37
38
39
40
41
42
43
44
45
46
47
| from pathlib import Path
from hoshino import Service, priv, aiorequests, R
sv_help = "[绘图+关键词] 关键词仅支持英文,用逗号隔开"
sv = Service(
name = "ai",
use_priv = priv.NORMAL,
manage_priv = priv.SUPERUSER,
visible = True,
enable_on_default = True,
bundle = "娱乐",
help_ = sv_help
)
headers = {
"User-Agent": "Mozilla/5.0 (Windows NT 10.0; Win64; x64) AppleWebKit/537.36 (KHTML, like Gecko) Chrome/97.0.4692.99 Safari/537.36 Edg/97.0.1072.76"
}
imgpath = R.img('novelai').path
Path(imgpath).mkdir(parents = True, exist_ok = True)
@sv.on_fullmatch("ai绘图帮助","AI绘图帮助", only_to_me=False)
async def send_help(bot, ev):
await bot.send(ev, f'{sv_help}')
@sv.on_prefix("绘图", "绘图")
async def novelai_getImg(bot, ev):
'''
AI绘制二次元图片
'''
key_word = str(ev.message.extract_plain_text()).strip()
await bot.send(ev, "涩涩bot正在绘图中,请稍后...")
try:
url = f"http://91.216.169.75:5010/got_image?tags={key_word}"
img_resp = await aiorequests.get(url, headers = headers, timeout = 30)
except Exception as e:
await bot.finish(ev, f"api请求超时,请稍后再试。{e}", at_sender=True)
try:
img_name = "test.png"
Path(imgpath, img_name).write_bytes(await img_resp.content)
except Exception as e:
await bot.finish(ev, f"图片保存出错。{e}", at_sender=True)
try:
await bot.send(ev, f"根据关键词【{key_word}】绘制的图片如下:\n{R.img(f'novelai/', img_name).cqcode}", at_sender=True)
except Exception as e:
await bot.finish(ev, f"图片发送失败。{e}", at_sender=True)
|
本体部署
有兴趣有财力的hxd可以参考这个文章部署本体。
https://telegra.ph/NovelAI%E5%8E%9F%E7%89%88%E9%83%A8%E7%BD%B2%E6%95%99%E7%A8%8B-10-07


